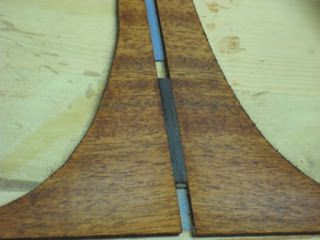
So I tried something different. I poured out my alcohol dye mixtures and prepared a new dye mix, diluting the dye with water instead of alcohol.
I apply the dye first, to bare wood. After I get the dyed wood looking the way I want it, I'll then seal the wood with 1 lb cut shellac.
I think these test pieces look pretty good. I stuck in some rosewood scrap in there to give an idea of what the rosewood binding will look like against the mahogany.


About an hour later, after this "brown mahogany" dye application dries, I lightly sand with 220 grit and then apply another dye application, but a redder version of the same thing. That looks like this:


Ok, now compare that with this.
I've still got more testing to do.
After this dye dries on the wood, it looks a whole lot lighter, so I'll have to apply seal coats and then see what happens. Perhaps I'll add a little dye to the shellac and see what that does.
The last few days, I've also been prepping the bare wood surface of the guitar. Going over it, and removing any scratches and making the surface as smooth as possible. I scraped the soundhole rosette to get it looking as clean as possible. Check out how nice this looks.


It's getting so close to being done, it's painful. But the finish will take a while to cure and properly harden. It'll still be quite a while before I'm able to string it up.

No comments:
Post a Comment